Today we’re going to follow up to Part 1 of my home-brewing series.
The next step takes place about 5 days after part 1. We’re going to begin “secondary fermentation,” aka putting our beer into a different container.
As always, the real first step is to sanitize everything. So my glass carboy (jug) gets sanitized with iodine and rinsed out. The same thing happens to a rubber stopper, a hose, and an airlock. This is about 10 minutes of work.
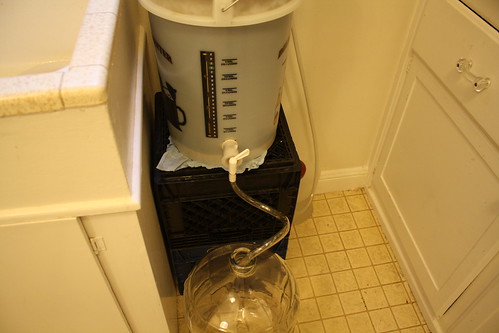
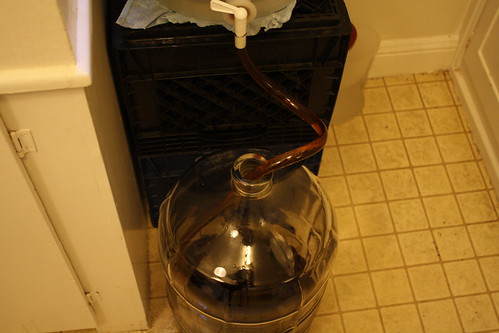
Next step: transferring the beer into a new container. All we do is plug in a hose and let gravity do the work.
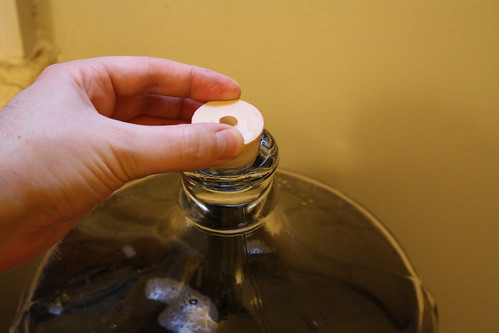
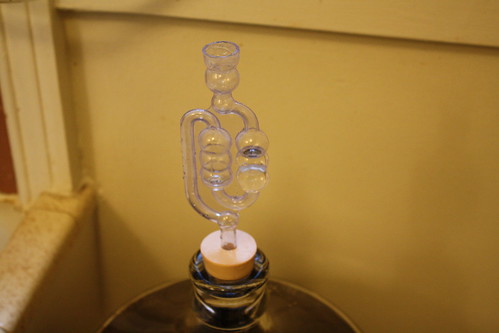
Now that our beer is moved, we plug up the glass carboy and cram in an airlock.
That’s it, we’re done with setting up our secondary fermentation.
If you’re paying attention, you’re no doubt wondering why we changed containers. The end result of part 1 and part 2 look very similar. So why bother?
Well the answer is simple — we left behind a bunch of sludge in the original container. We tossed the sludge and cleaned out the plastic bucket for next time. It’s like moving your fish while you clean out their bowl. The absence of this gunk makes the resulting beer more clear and less gunky.
Next time in my home-brewing series, we’re going to bottle the beer.
For a few months now I’ve been making beer at home. It’s surprisingly simple. If you can make tea, you can probably make beer.
I’m by no means an expert at this, but I’m chronicling my attempt at making a porter. This is my 6th batch of beer ever, and it will take around two months. Not to worry though, there’s maybe 4 hours of actual work involved. The rest is just waiting.
All the ingredients, recipes, and special equipment come from SF Brewcraft here in the city. (If you’re living somewhere else, you can probably find all this at a local brewing place or online.) Important note: brewing beer at home is legal here in California, but it may not be where you live.
Enough talk, let’s get started: here’s day 1 of making the porter.
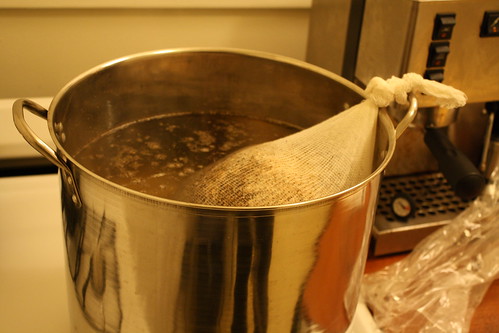
First you get a big pot of water to a near boil. Three gallons of water (more or less.) Unless your stove is super fast this will take a while. I think it took me about an hour.
Your grains go in a cheesecloth bag and you tie that bag to the side of the pot. This has to soak for about 40 minutes give or take. The resulting water with grains is called “wort.”
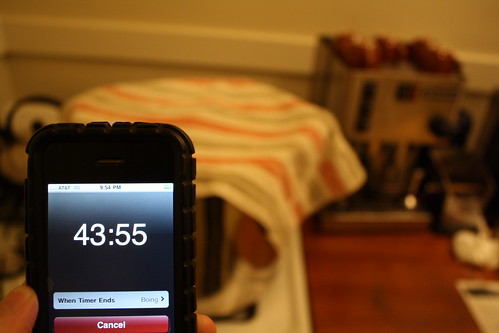
Once that’s ready, you have some free time. You turn the stove off, cover the pot, and wait 45 minutes.
Then you spend a minute and 5 seconds fumbling with your camera trying to get the shot of you holding your iPhone timer to demonstrate this. It’s cool though, because you’ve got time to spare.
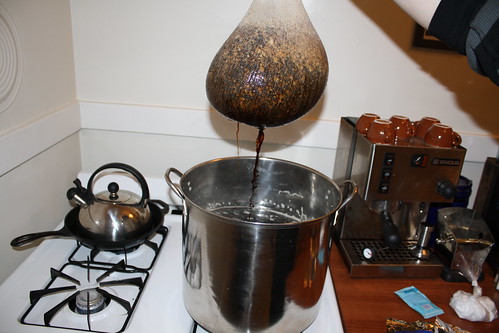
Beep beep, 45 minutes is up and it’s time to pull the grains out!
Now it’s back to a boil. The malt sugars and hops go in now. The malt I used here is thick and liquid, like maple syrup. Six pounds of malt sugar go in, so I hope you’re not on the Atkins diet.
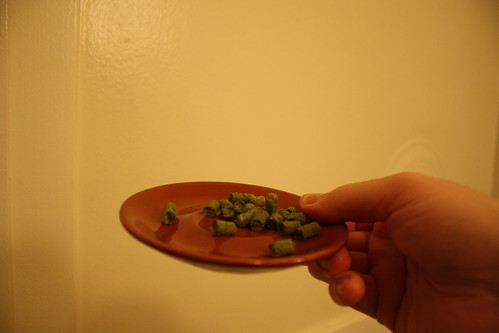
Hops come in little pellets and look like rabbit turds. They smell like, well, marijuana. Hops are what add flavor to the beer. They go throughout the boil at prescribed periods. This takes another hour.
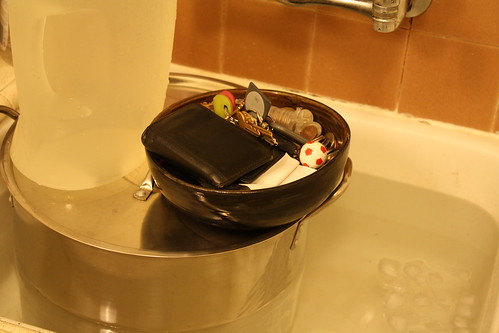
Okay, the hour is up, now it’s time to cool our batch down in ice water. So we fill up the sink and place the pot in. But unfortunately the pot isn’t heavy enough and it floats, so we put a bunch of heavy junk on top to weigh it down.
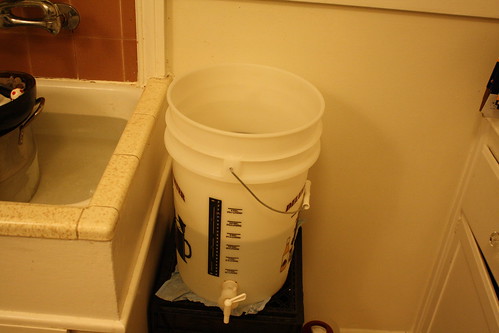
Meanwhile, we have a bucket of 2.5 gallons of room temperature water ready to go next to it in a sanitized bucket. The wort goes in here along with yeast, then it gets sealed.
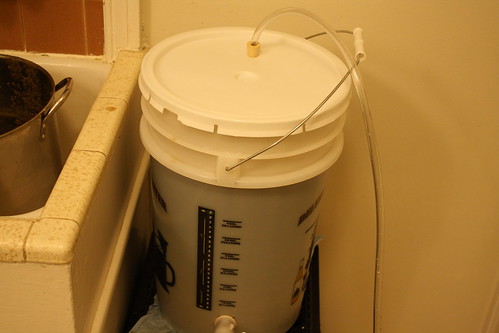
Here’s the whole thing sealed up and ready. The hose acts as a one-way valve so the gasses from the fermentation can escape.
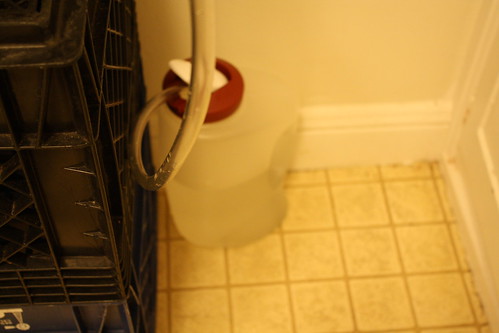
Where does the hose go? Into a bucket of water, of course! For you druggies out there, this is just like a hookah/water pipe.
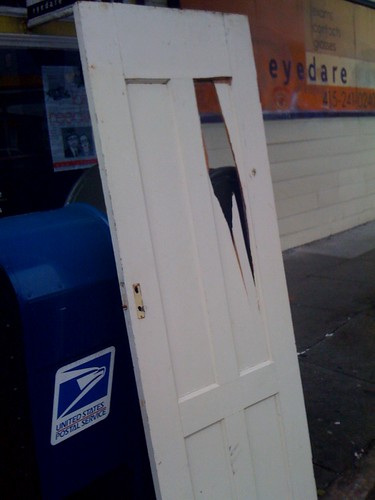
A street-level billboard on 14th St. and Valencia that recently featured a cool street art mural. Unfortunately it was removed by “the man” before I could get a pic of it with my real camera.
The Barbie car — painted bright pink, pink rims, even a Barbie logo on the window! Throw in a pet unicorn and it’s every little girl’s dream come true.
Spotted on Jan 28th at 330 Ritch outside Little Skillet / Cento.
Recently I was installing Kubuntu 9.10 (also known as Karmic Koala) when my system refused to boot. I was informed that my system had “given up waiting for a root device.”
But there’s a simple solution!
I suspect many of you may be in a similar situation and that’s why you’re here. Let’s first consider the “gave up waiting for root device” error.
What does it all mean? Well, your boot loader was trying to see if your main hard drive (i.e. “root device”) was starting up. But guess what? It didn’t start — probably because it wasn’t there.
“But I didn’t take it out!” you exclaim, because you’re not stupid enough to take your hard drive out of your computer and then be surprised when it doesn’t work.
No, the problem is because your computer couldn’t find your drive.
You’ve got to fix the boot loader, and you have two options. If you’re lucky like me, your computer drops to a “Busy box” shell on this type of error. This is a sort of bare minimum shell that does just enough to get your computer running. If this happens, you’ll see some instructions on the screen regarding Busy box.
Use Busy box to access your drive Here’s what to do if you’re using the Busy box command line:
Create a new folder to mount your hard drive.
mkdir /drive
Mount your hard drive to the folder you just made.
mount /dev/sda1 /drive
In my example, my hard drive was located at /dev/sda1 and I suspect this is pretty normal. Your drive may be sda2, sdb1, sdd0… who knows! It may take a few tries. If you guessed the number incorrectly, you can always try again by unmounting and then going back to step 2. Here’s how you unmount your drive:
umount /drive
Make your hard drive the root so we can fix it.
chroot /drive
From here you can use nano, emacs, or vi to fix your problem. Skip below for more info.
Without Busy box If you’re not lucky enough to get Busy box prompt, you can always boot off of a Linux Live boot CD. The regular Ubuntu install CD can be used in live boot mode, as can Knoppix. When you boot off of that CD you’ll be taken to a full-fledged Linux environment where you can fix your problem in the same way. Your hard drive should be easily accessible, probably with a nice GUI and everything. Just open the drive and you’re ready to go.
Otherwise, try Googling around some more. It’s probably a very similar boot loader issue that can be fixed easily once you’ve completed the above steps.
I’ve been noticing some strange ads lately for a company called Bell Plumbing North here in San Francisco. Their ad is one major WTF after another.
And then some.
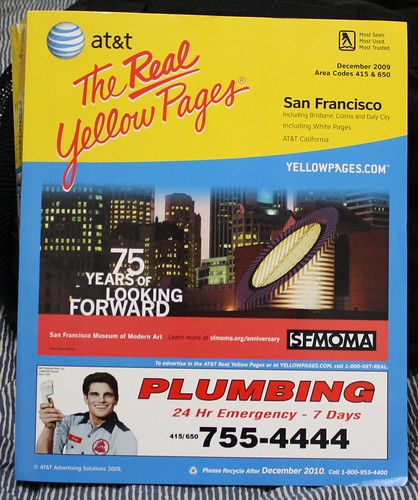
Here’s the ad in question:
So there’s a smiling guy with the word PLUMBING in big red letters next to him. Not so strange… or is it?
Let’s look a little closer.
Yes, that’s a phone. It’s an ad for plumbing, and he’s holding a phone. Not a pipe; a PHONE.
What does a phone have to do with plumbing? Everybody knows you can call a plumber on a phone, you don’t need this concept presented visually.
Is the idea that you can use a telephone to call a plumber particularly surprising to anyone? The add effectively states “we’re not like those other plumbing places where you have to send a telegram.”
But it gets stranger — look at his shirt.
Do you see what I see? Because what I see is this:
But wait… that’s the logo for Bell Telephone. The guy in the ad is wearing a phone company uniform. Does he work for the phone company during the day, and moonlight as a plumber at night?
Or perhaps he’s the customer. He’s a phone operator, and the men’s room at the phone company is flooding, so he’s calling a plumber.
No explanation could possibly be satisfactory.
Lastly, let’s look at where this company advertises.
Yes… that’s the front cover of a phone book. They advertise on the PHONE BOOK. Phones… plumbing? Huh?
Where’s the connection? If they were a company that sold phones I would get it. But now I’m more confused than ever, and the circle of insanity is complete.